

Build an end-end serverless ETL workflow with AWS Lambda and Deploy to AWS Redshift


We are constantly thinking of how we can have a seamless operation in transforming data from bronze to silver, getting it refined for analytical purposes to data analysts and business intelligence experts in a preprocessed form. If you have thought of this as well, let's get into this already.
First, let's understand the major component of this read:
In data engineering, ETL is something you would have come across a lot of times because we are always Extracting data from a source, transforming it from raw state to the desired format, which we definitely will want to store (Load) the data for future purposes, this process is ETL - Extract, Transform, Load. We also have ELT - Extract, Load, Transform, which is a process that is mostly associated with Data Lakes, check more on ETL and ELT here
Serverless ( Function-as-a-Service) any fully managed service in the AWS stack is pretty much a serverless service all that is required from you is to provide your code, and you only pay for what you use. Bear in mind that serverless does not mean No server but you are able to run applications without managing or provisioning the server. Enjoy the cost-effectiveness of paying for what you use with no cost incurred when code isn't running, an example of Function-As-A-Service is the AWS Lambda that we will use as our compute service.
Redshift: is a data warehouse that stores data, it gets launched by a set of compute nodes, called an Amazon Redshift cluster.
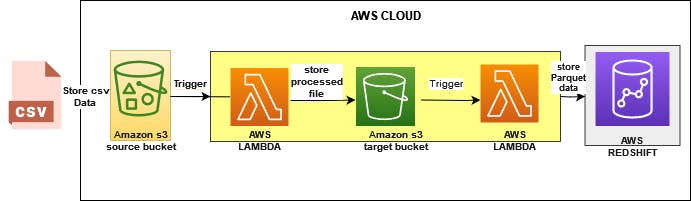
Serverless ETL workflow architecture
Tool:
S3: is a simple cloud storage service. It provides buckets that store data from various sources, it is also an example of a data lake.
AWS Lambda: we will create two lambda function
First lambda function is to transform data from CSV to parquet, thereafter the transform the data will be moved from the source bucket to the target bucket.
Second lambda function will move the parquet data to redshift.
Secret Manager: we will use this resource to store the redshift cluster credentials.
Redshift cluster: this will serve as a data warehouse to store the parquet data file.
So yeah, let's dive right in
For this project the console will be used
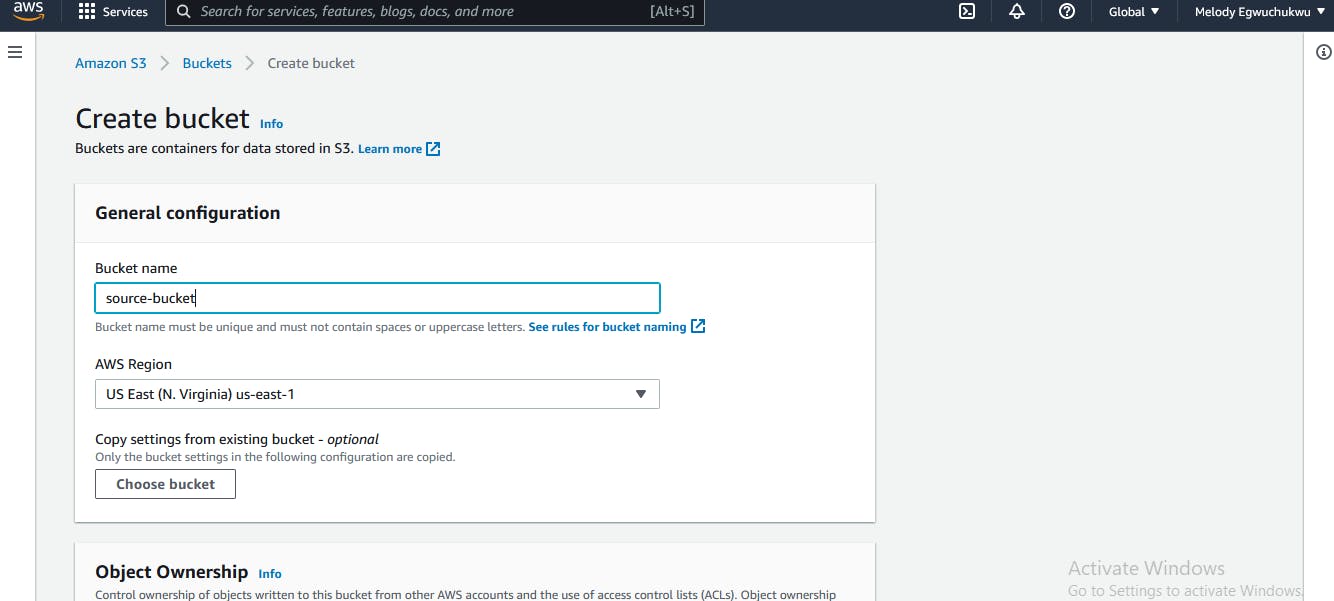
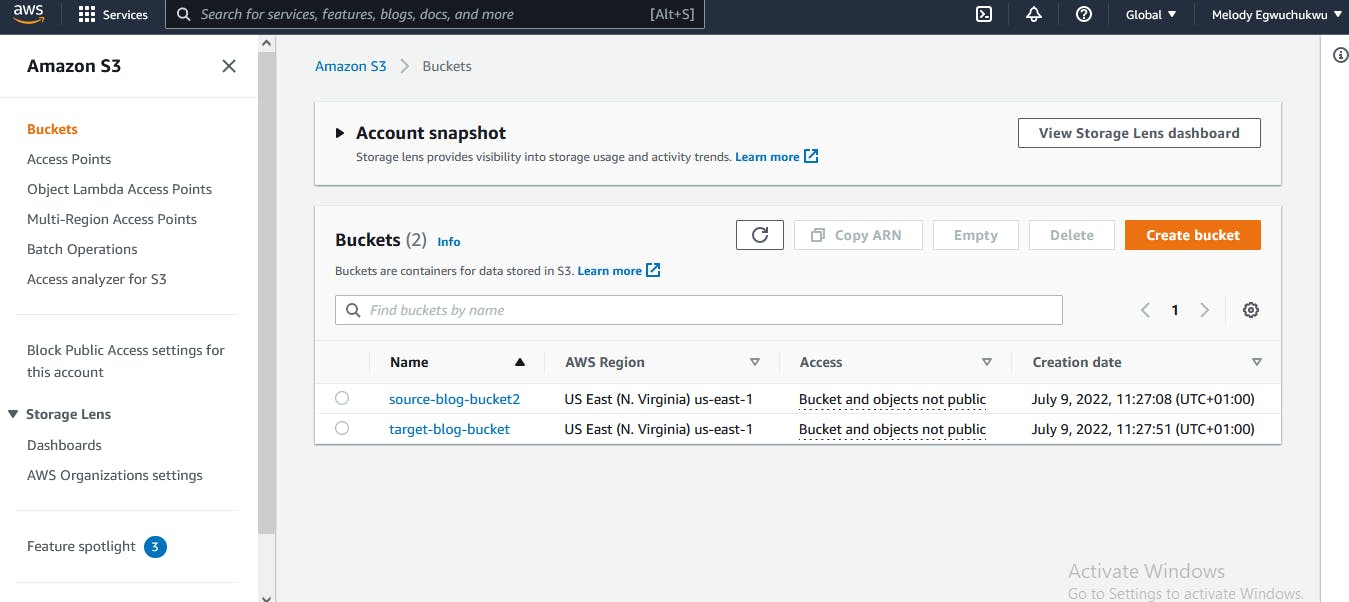
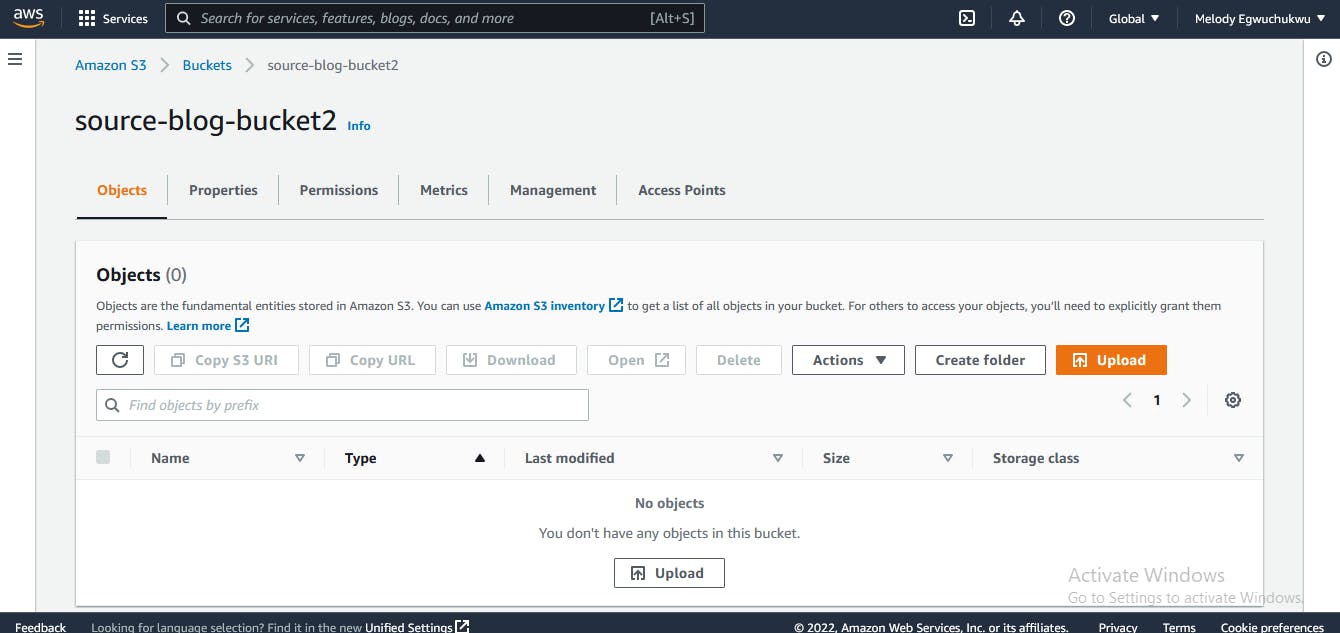
- Create the s3 bucket (source, target)
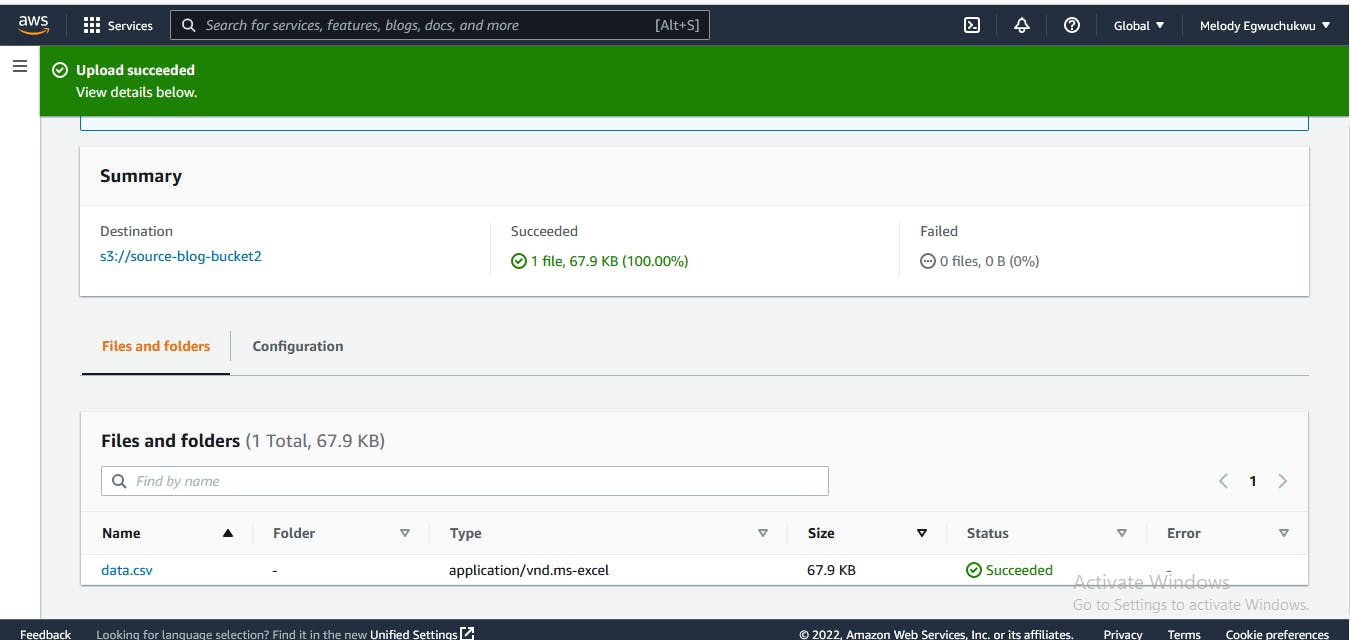
- Upload data to the source bucket.
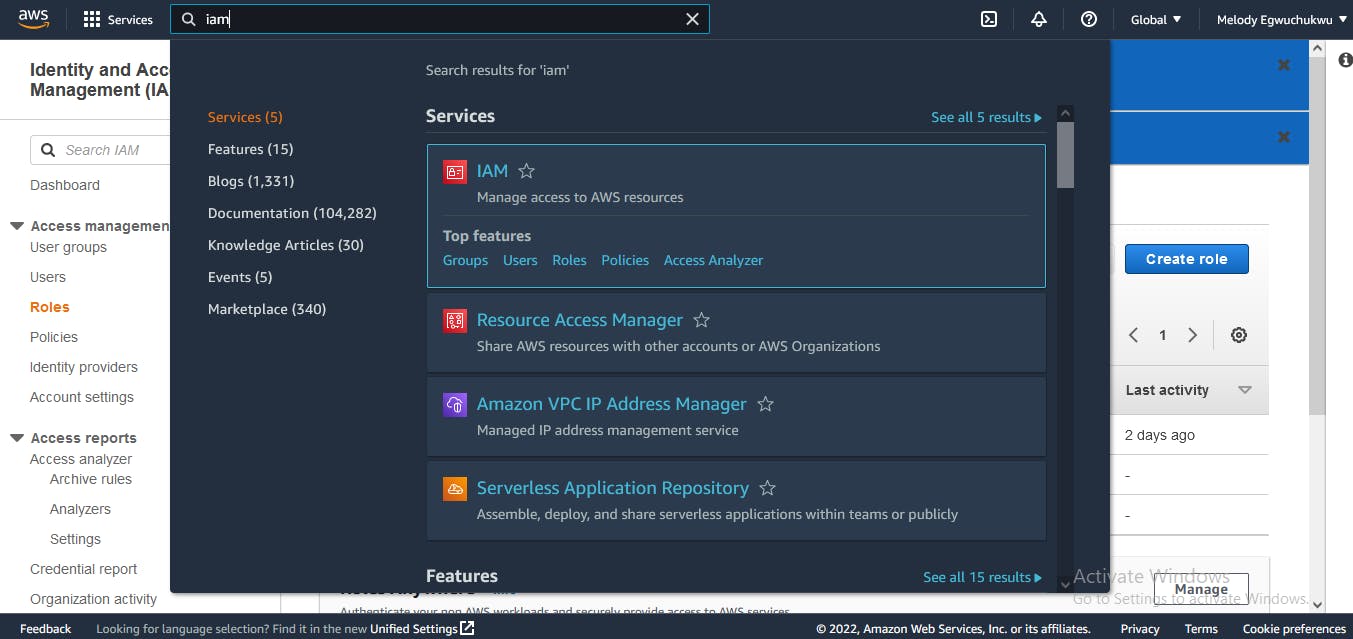
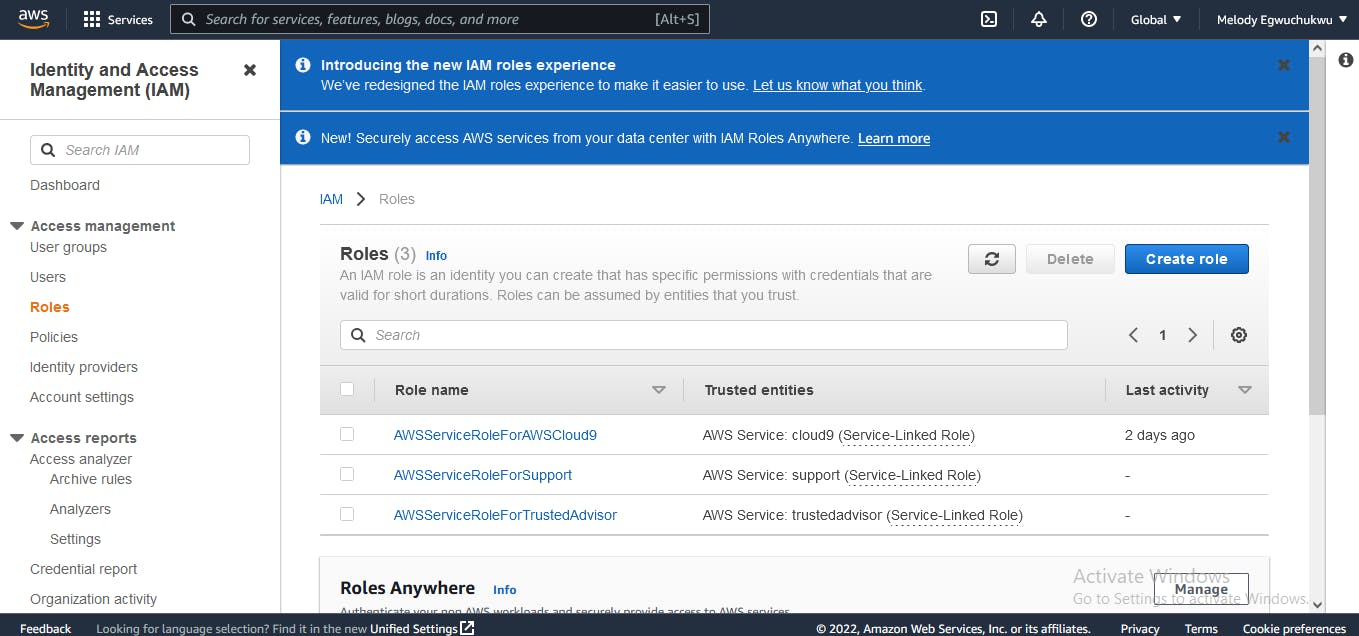
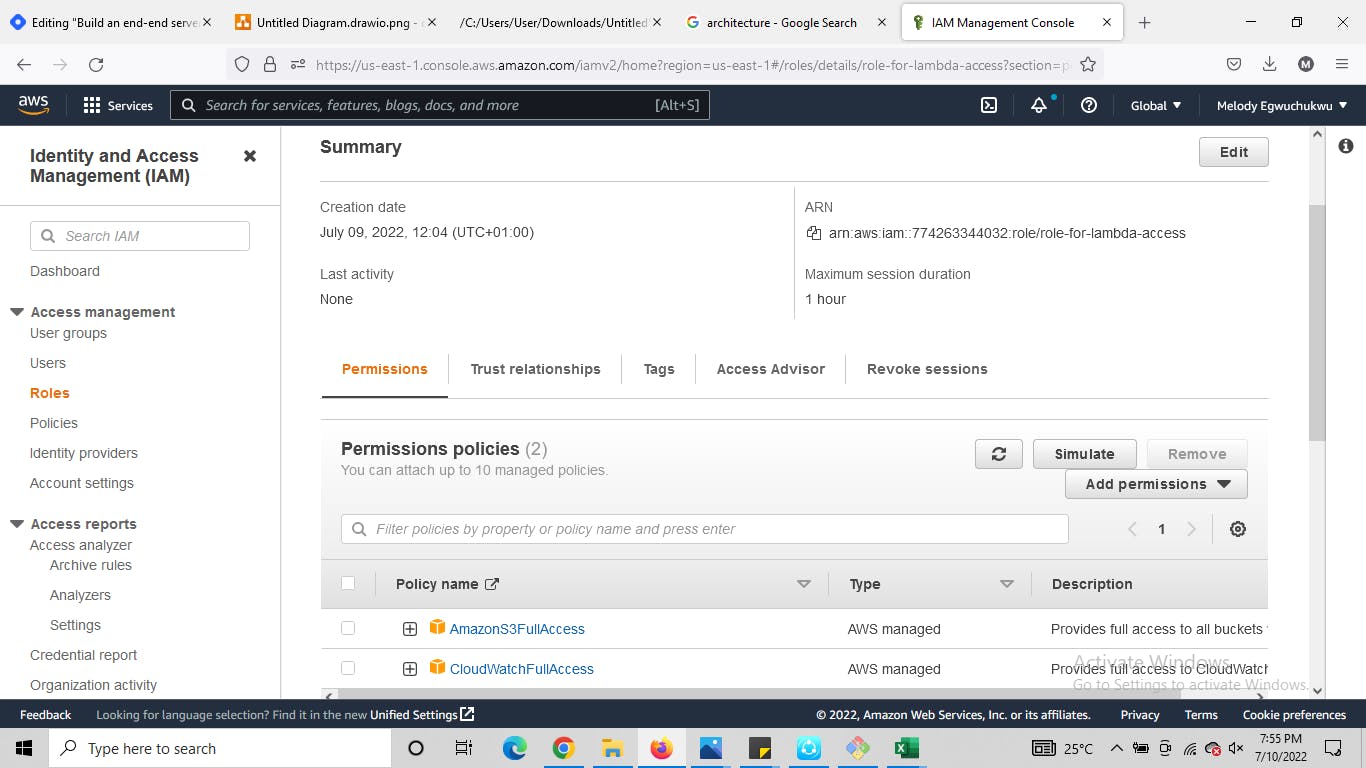
- It's a good practice to create separate IAM permission for lambda functions so that they have access to services of interest. Search for IAM in the search bar and navigate to the Roles section, this is where we will create permissions for our Lambda function to access the source Amazon S3 bucket we have created.
 then create a new role by clicking on the top right corner
We will give s3 and cloudwatch full access, as you progress we will learn how to fine-grain the policy permissions we give.
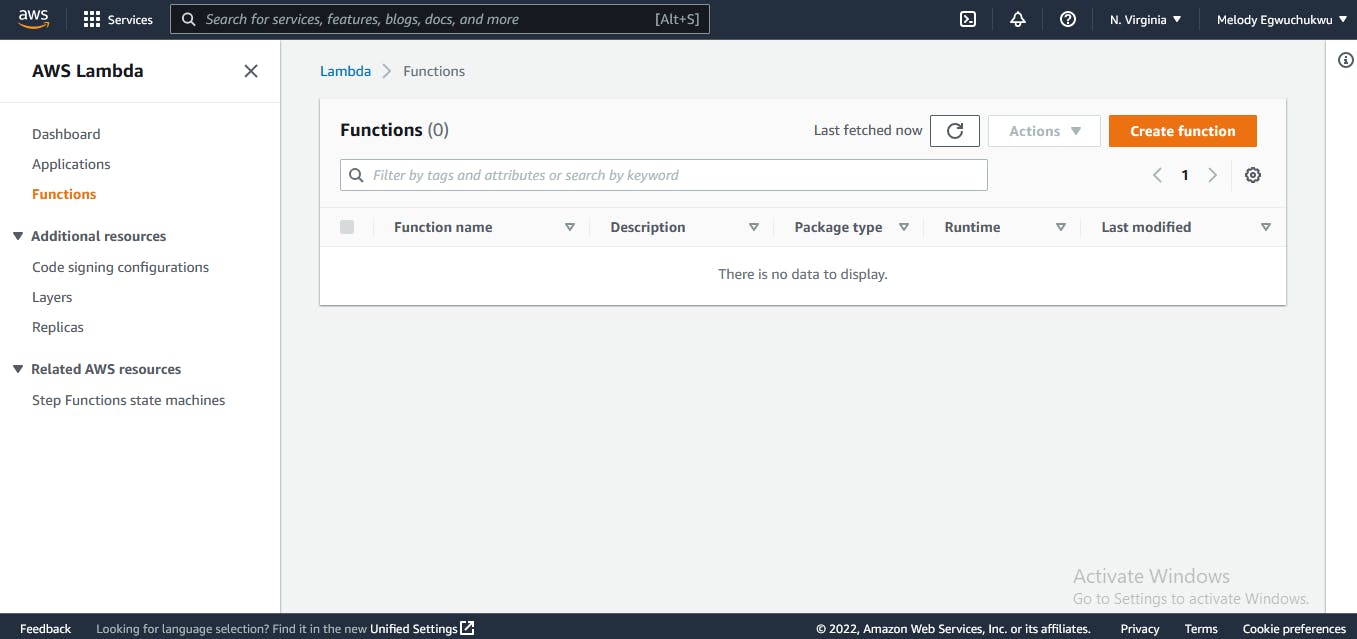
Now, we are done creating the IAM role let's create the Lambda function, search for lambda you should be taken to this interface
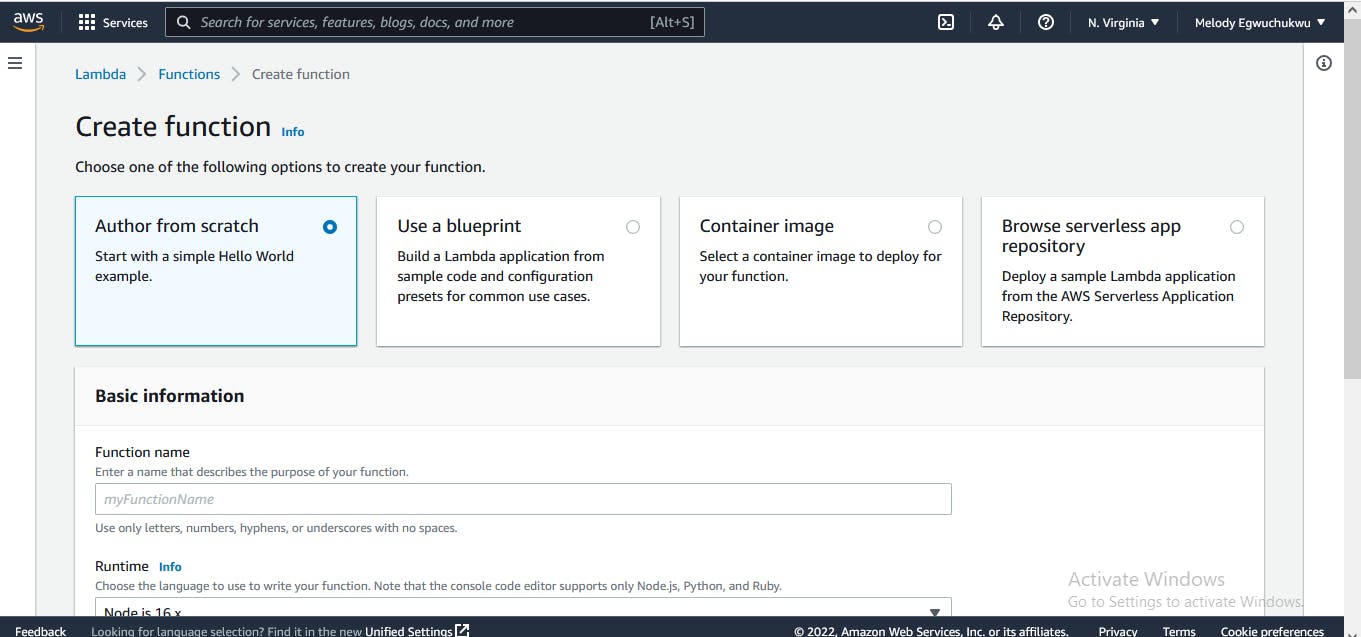
Configuration of lambda function
- select author from scratch,
- pick a function name
- select your preferred runtime, for this demo we will use Python 3.9
- architecture there are two options we picked x86_64, then add the permission you created
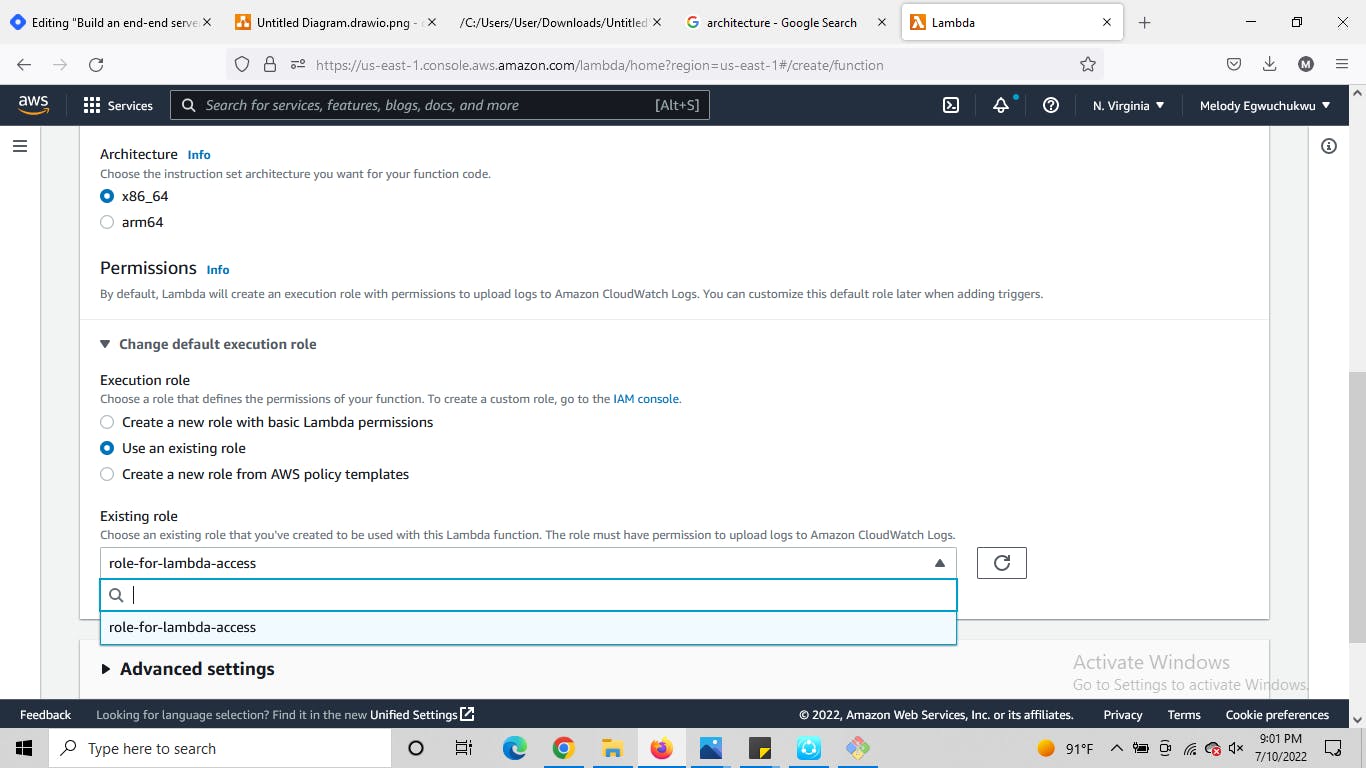
You should see an interface similar to the one below
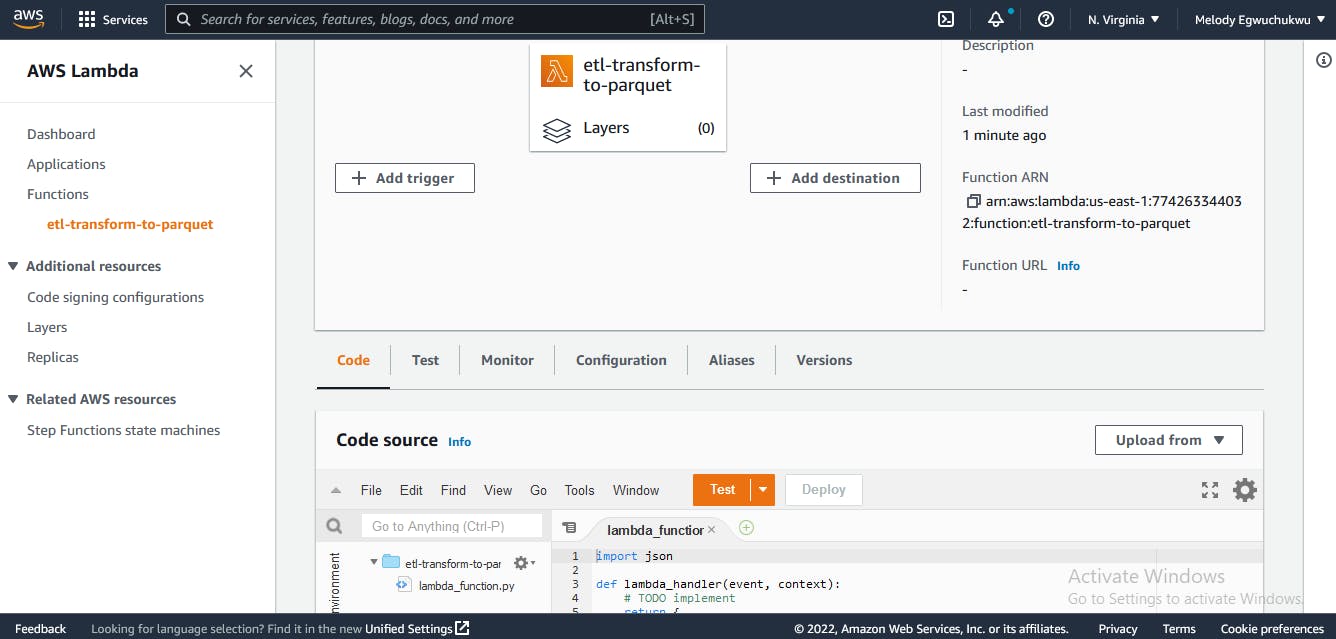
In the code section, you see the interface to add your code. The code here will fetch CSV data from the source bucket. Here is the snippet I used for this task:
import awswrangler as wr
import pandas as pd
from datetime import datetime
import urllib.parse

def handler(event, context):
    bucket = event['Records'][0]['s3']['bucket']['name']
    #stores bucket name
    key = urllib.parse.unquote_plus(
        event['Records'][0]['s3']['object']['key'],
        encoding='utf-8')

    #stores the name of file uploaded
    destination = "<add the name of target bucket>"

    date_of_entry = datetime.now()
    year = date_of_entry.year
    month = date_of_entry.month
    day = date_of_entry.day
    data = wr.s3.read_csv(path=f"s3://{bucket}/{key}",
                          parse_dates=['date_of_visits'])
    data.rename(columns={'number_of_vists': 'number_of_visits'}, inplace=True)
    df= pd.DataFrame(data)
    output_filename = 'business_data.parquet'

   #convert .csv to parquet
    data_p = wr.s3.to_parquet(df=df,
                              path=f"s3://{destination}/YEAR={year}/MONTH={month}/DAY={day}/{output_filename}")
In the last line of the code, we specified the path where the data would be stored in the target bucket, the specified path will enable us know the date of each data ingestion into the S3 bucket.
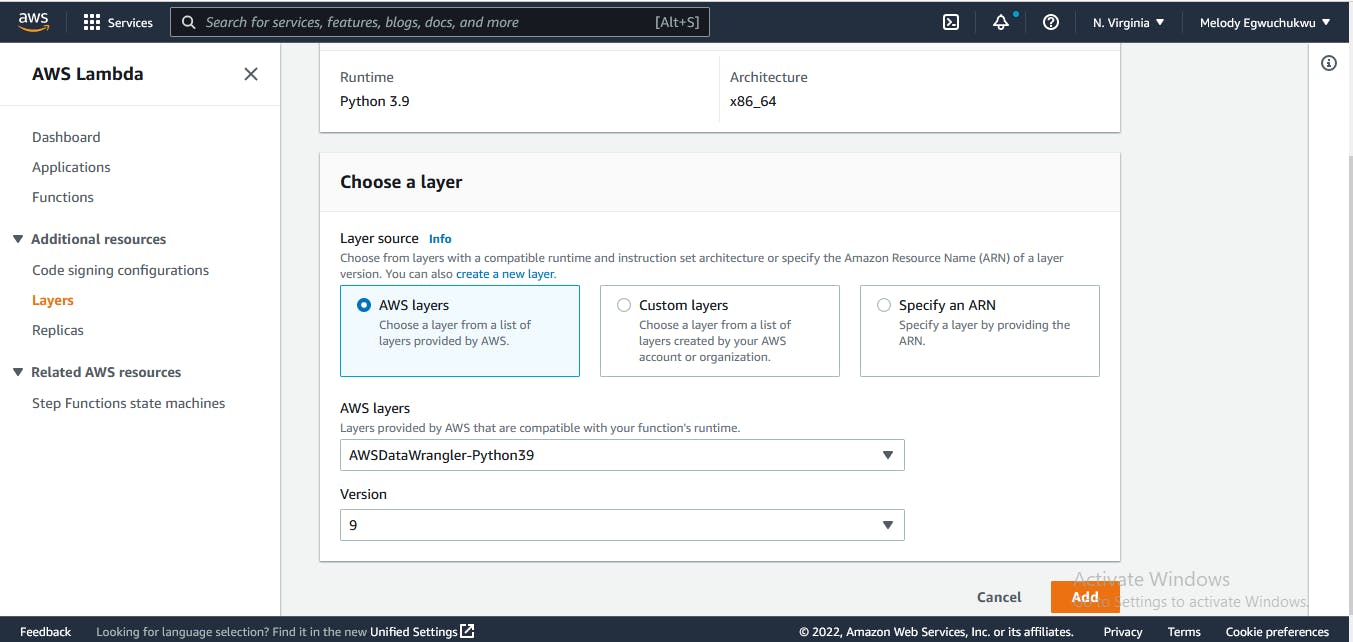
In Lambda you need to add necessary python dependencies to the lambda layer so that they can be available when you import them. So when you scroll down you find the Lambda layer, click the add layer, and we add AWS Data wrangler. The AWS Data Wrangler is an open-source Python library that enables you to focus on the transformation step of ETL by using familiar Pandas transformation commands.

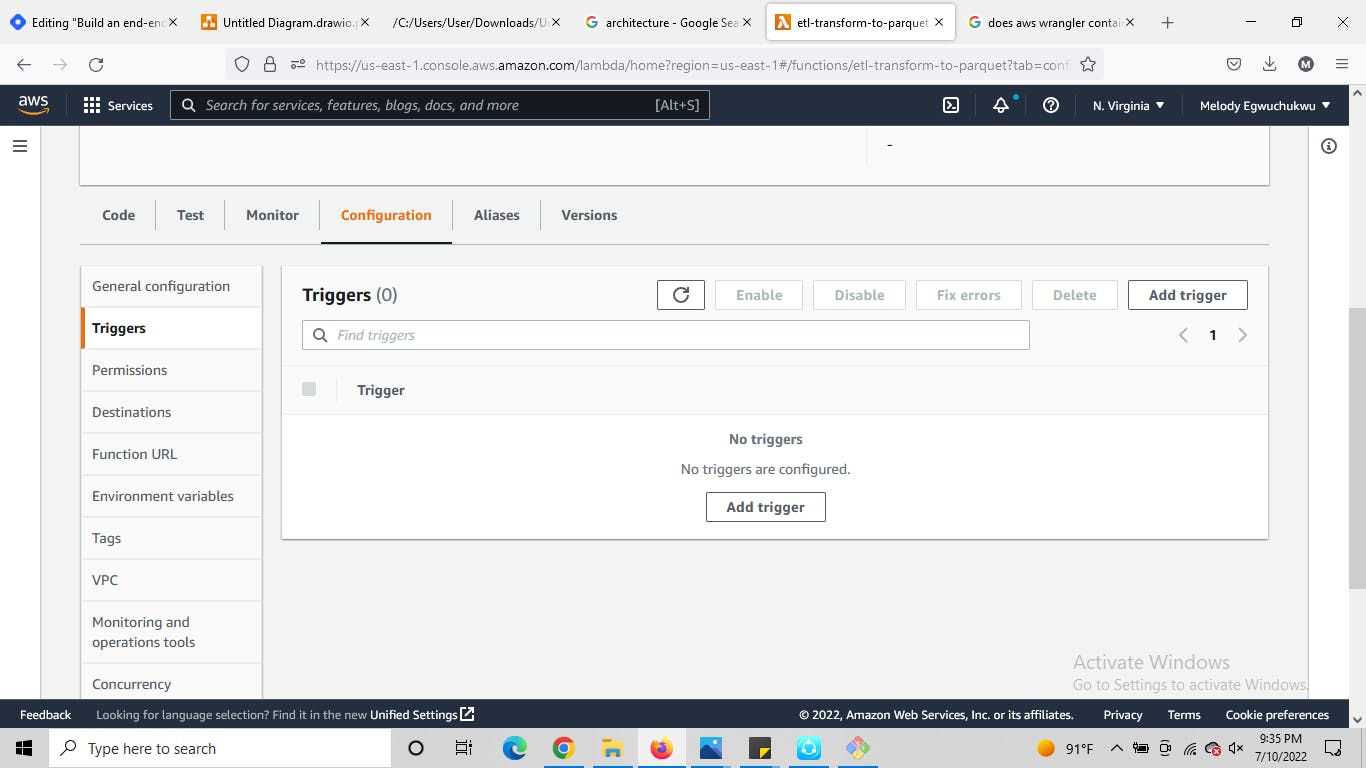
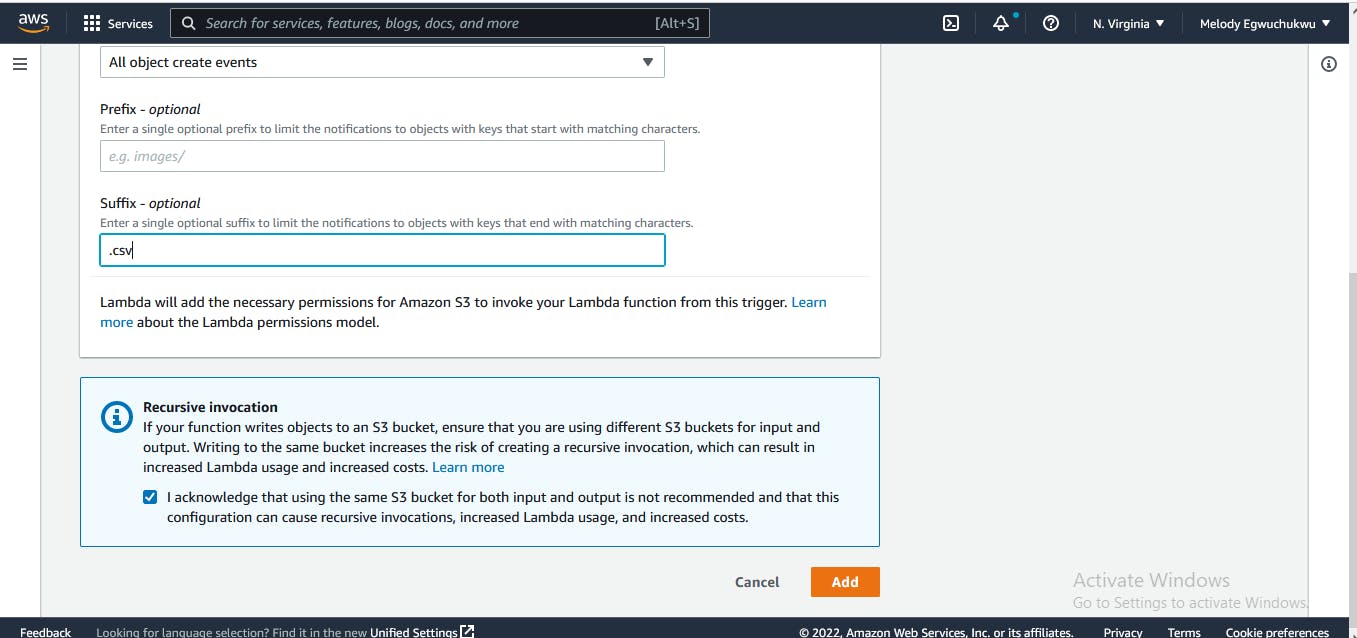
 next, we add the trigger connection to the source s3 bucket
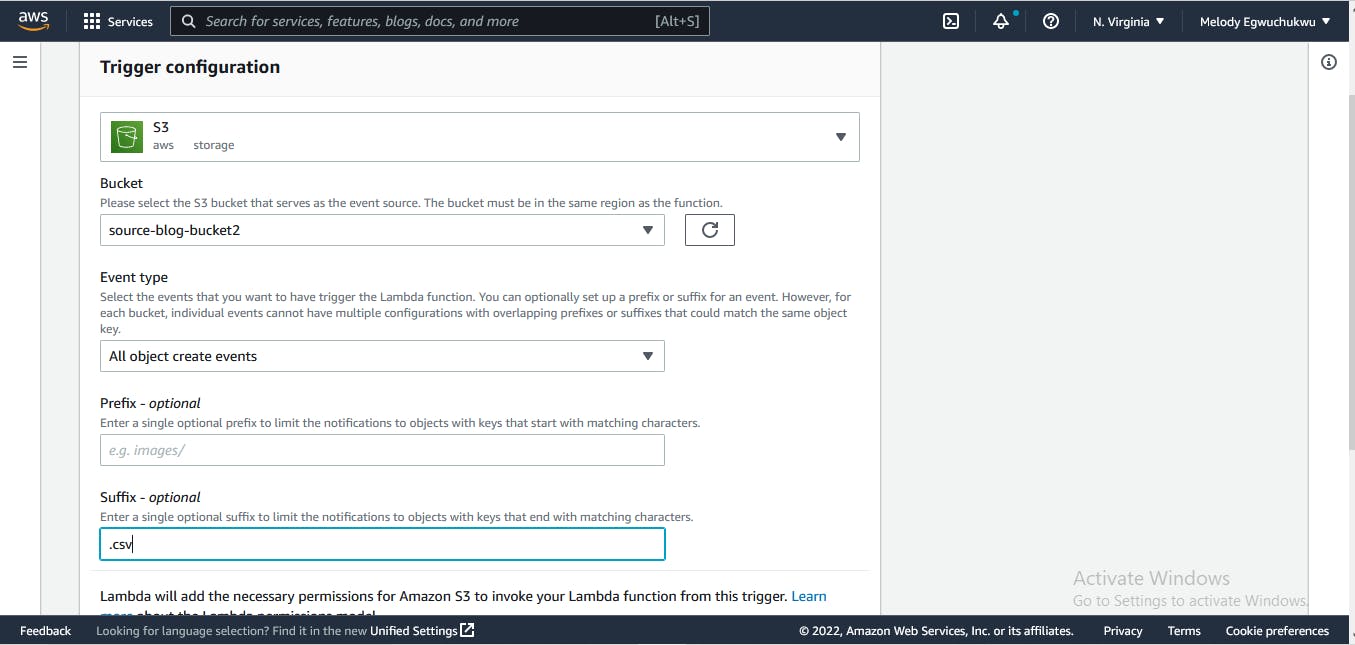 ensure you click the recursive invocation
Secret manager: save redshift credentials
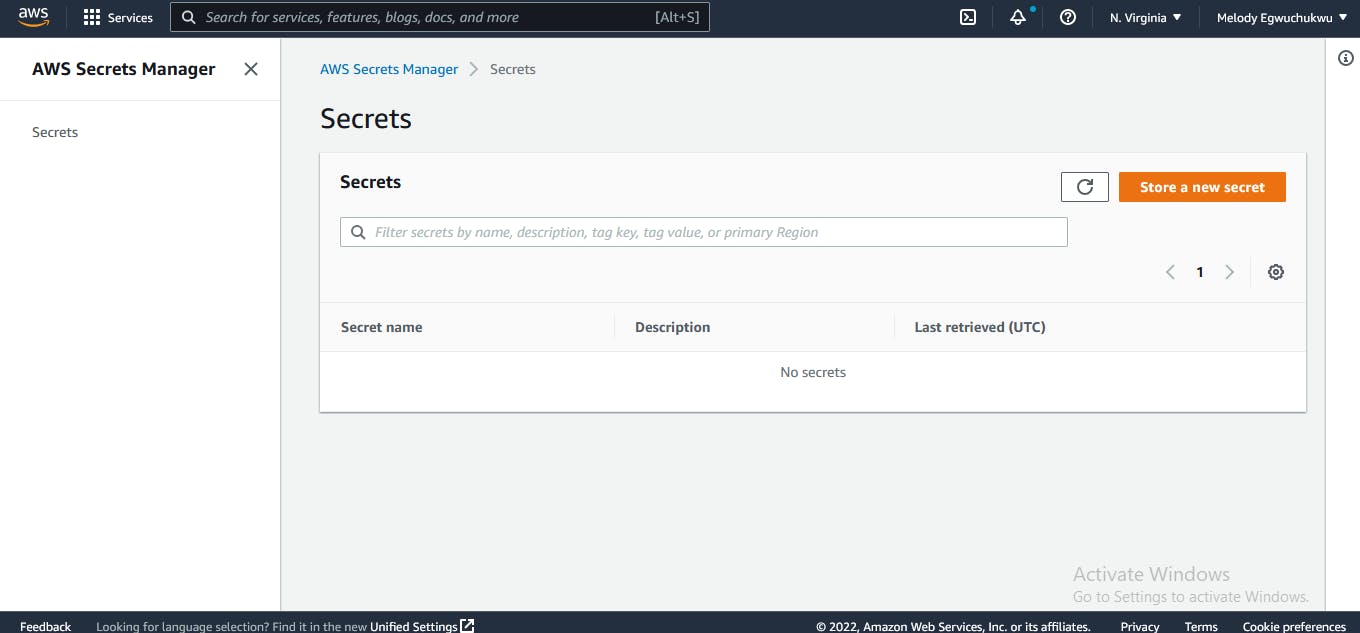
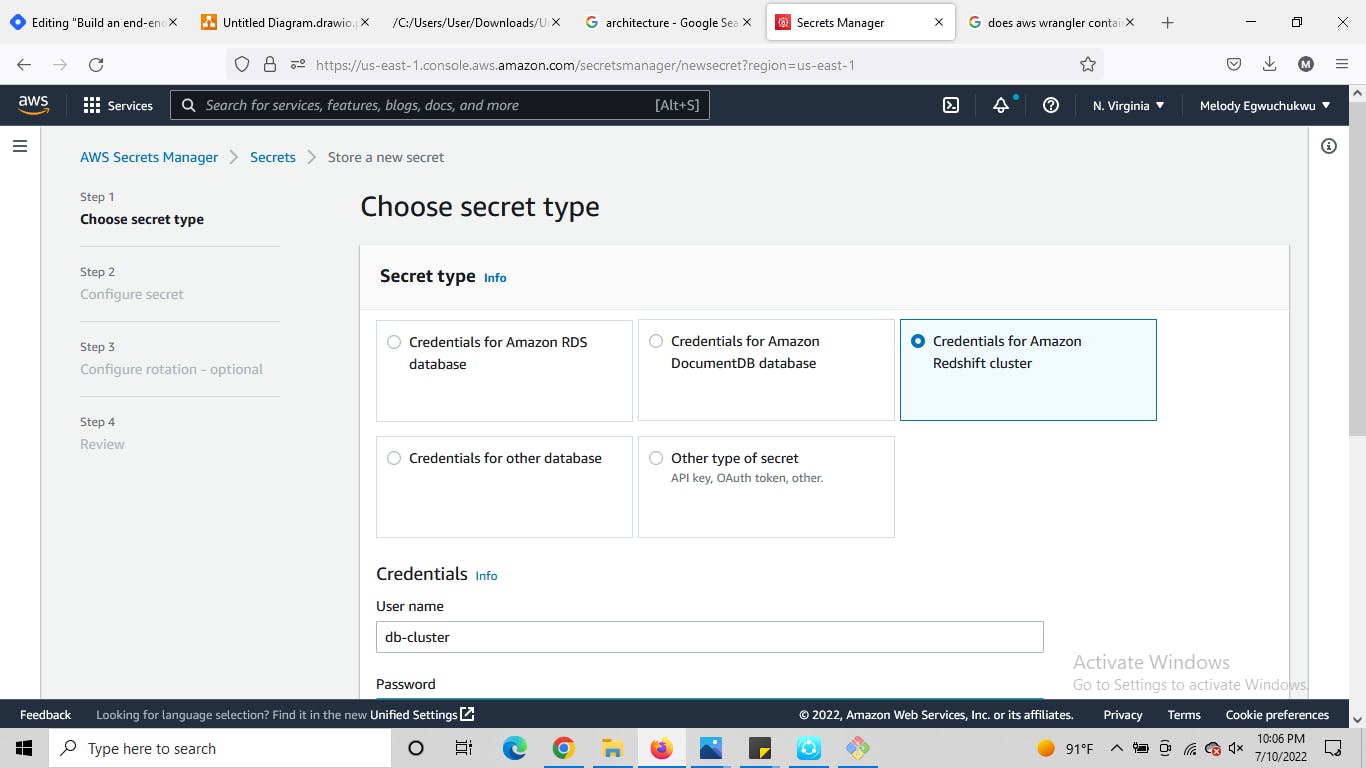 the Redshift cluster created will be added to the secret manager.
Second Lambda function to move data to Redshift similar to the configuration we made for the first lambda, let's create the second lambda function this time, this function will move the parquet files from the target s3 bucket and load it to a Redshift table making it accessible for analytical purposes.
import json
import boto3
import psycopg2 as pg
import boto3
import urllib.parse


def lambda_handler(event, context):
    # TODO implement
    # session to connect the redshift
    secret_name = "<add name secret associated to the credentials stored>"
    region_name = "us-east-1"

    # Create a Secrets Manager client
    session = boto3.session.Session()
    client_sm = session.client(
        service_name='secretsmanager',
        region_name=region_name
    )
    get_secret_value_response = client_sm.get_secret_value(
        SecretId=secret_name)
    db_prop = json.loads(get_secret_value_response["SecretString"])

    username = db_prop["username"]
    password = db_prop["password"]
    engine = db_prop["engine"]
    host = db_prop["host"]
    port = db_prop["port"]
    cluster_identifier = db_prop["dbClusterIdentifier"]

    iam = boto3.resource("iam")
    role = iam.Role("<role name created that grant Redshift permission>")

    conn=pg.connect(database= "dev", host = host,
                    port = port,  user = username, password = password)
    cursor = conn.cursor()
    create_att = f"""
    CREATE TABLE <schema_name>.<Table_name>
    uuid varchar(15),
    first_name varchar(100),
    last_name varchar(100),
    email_address varchar(255),
    number_of_visIts int8,
    time_spent float,
    amount_spent float,
    date_of_vists DATE);
    """
    cursor.execute(create_att)

    bucket = event['Records'][0]['s3']['bucket']['name']
    key = urllib.parse.unquote_plus(
        event['Records'][0]['s3']['object']['key'], encoding='utf-8')
    query = f"""
    COPY <schema_name>.<table_name>
    FROM 's3://{bucket}/{key}'
    iam_role 'arn:aws:iam::${account id}:role/${role_name}'
    FORMAT AS PARQUET;
    """
    cursor.execute(query)
    conn.commit()
    cursor.close()
You can see above that psycopg2 is used to create a connection to the database, we need to add this module to our layer, there is a slight difference to this as we don't have this library available in aws, we need to add it as a .zip file check here to know how to add custom layers
Redshift: Each schema in a database contains tables. here are a few steps we will take in setting up the data warehouse
Create the Redshift cluster (check here for more guide)
Create the database, schema, table, and attributes, then write and run some queries. If you are unsure on how to go about this check here
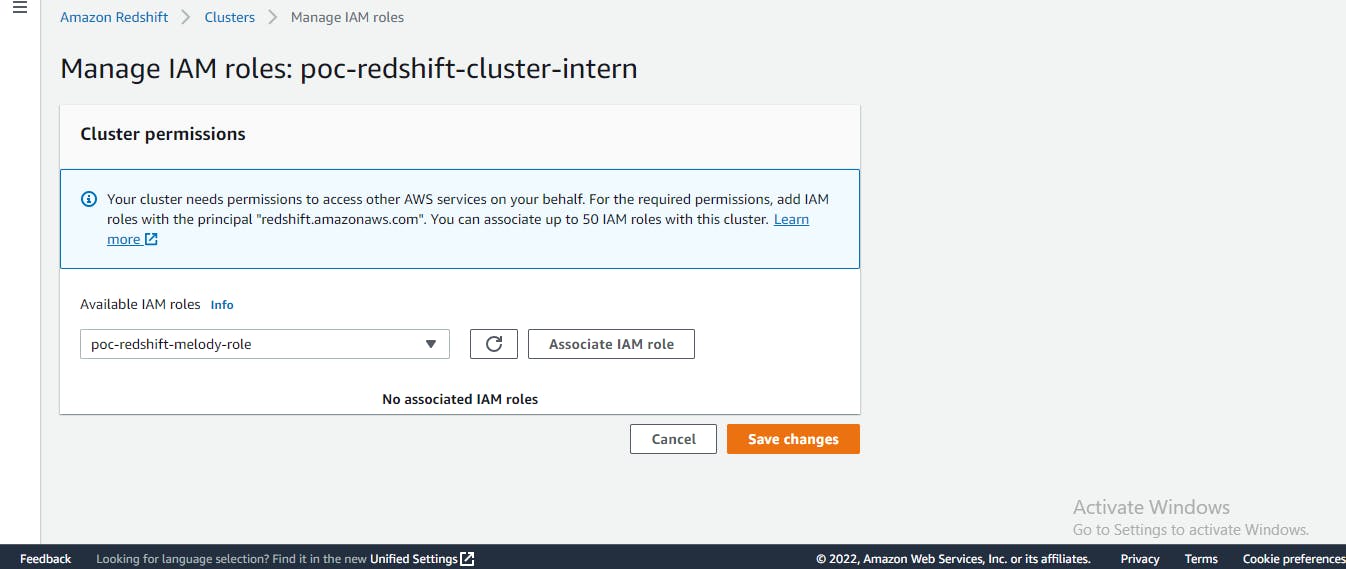
Create an IAM role that allows Redshift clusters to call AWS services on your behalf.
Next, attach that role to the Redshift cluster, click on actions then click on manage IAM roles.
- Next, open the cluster and create your database, schema, and table using the editor
CREATE DATABASE database_name
CREATE SCHEMA [ IF NOT EXISTS ] schema_name;
CREATE TABLE <database_name>.<schema_name>(
<add the data column name and their characters each separated with a comma>);
Ensure the attributes you specified in the table are exact and correct, if not your data will not get loaded into the table. Redshift makes use of the Copy command to load that this command can also append data when a new data object is added to the source bucket as specified in your code
Now we can test by adding a CSV file into our source bucket and see how the object data moves from our source bucket in S3, got transformed to a parquet file, got stored in the target bucket, and got loaded in the table in Redshift cluster. Also note the date of ingestion in your target bucket. this partition helps you keep track of the data of preprocessing.
Ensure you tear-down all resources once you are done to avoid unplanned billing, especially from Redshift
Yeah we are done.